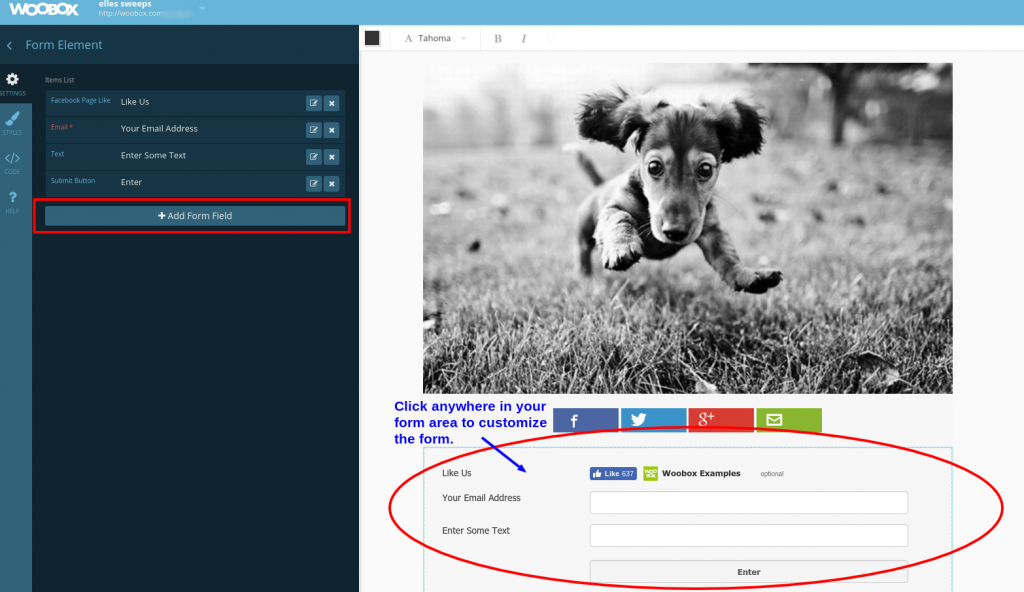
Using Woobox, you can host entry forms on their own landing page, in a Facebook tab, or embed them in your website. Customization tools let you add and remove fields so you can collect all the data you could ever need.
In this blog, we’ll cover different types of available form fields and give some tips and tricks along the way.
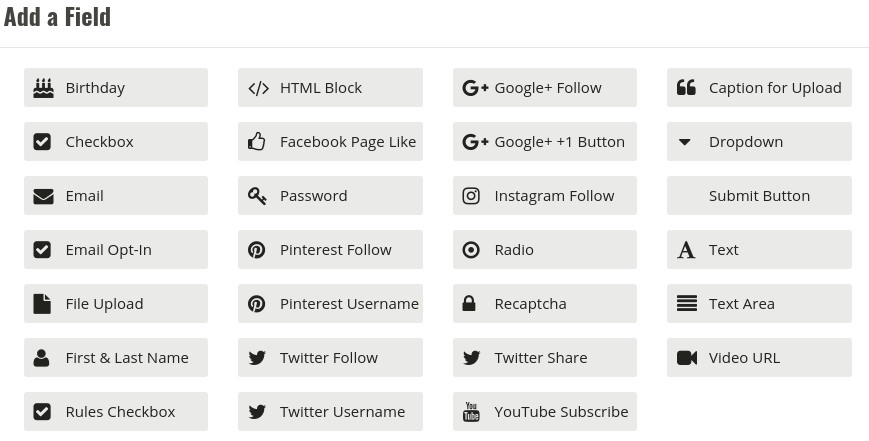
Birthday Field
Many companies collect birthdays to later send rewards on a customer’s birthday.
Whether you offer a discount, a free item, or just wish them a super great birthday, customers will be happy you thought of them.
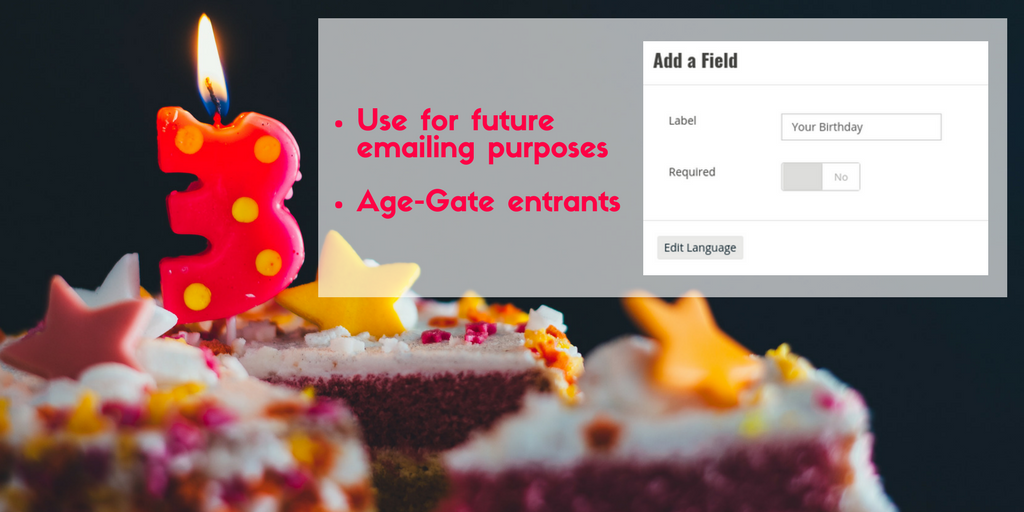
A lesser-known method, use this field for confirming birth! Use the birthday field as an age confirmation by turning on age restriction in advanced settings. When enabled, if the user puts in a birth date younger than the age you set, they’ll be unable to enter or re-access the offer.
Checkbox
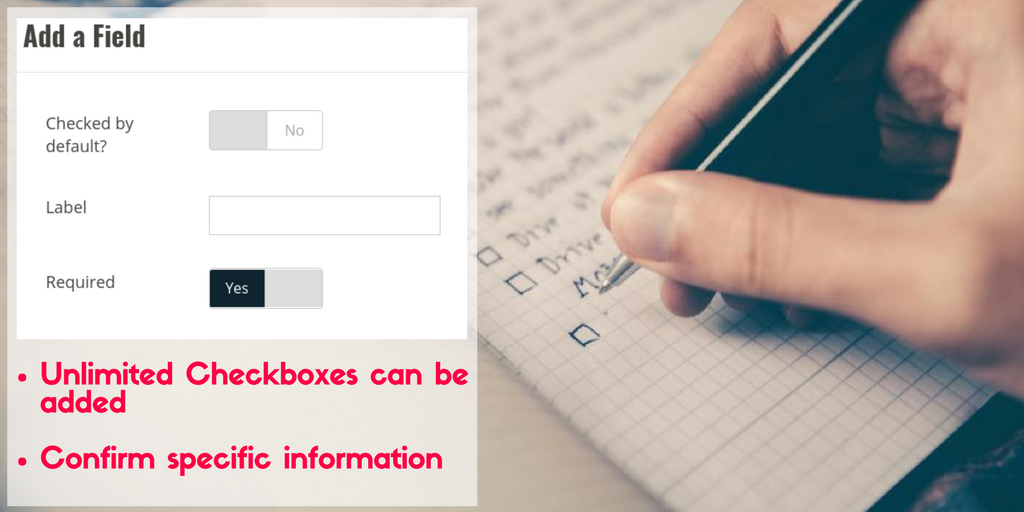
Uses are endless for adding check boxes! You can add multiple boxes if needed and have users select as many “choices” as they want. Or you can use it as a confirmation box for the user to check before they can submit their entry.
Email, Email Opt-In, First & Last Name
Collect email addresses, give them the chance to subscribe to your email list and/or ask for their name. Add multiples of either field.
Want to partner with another brand or have many newsletters? Rename each field you add for opting into those newsletters. Want a name of the user’s spouse, friend, a person they’re nominating? You can rename the label of the name field as well.
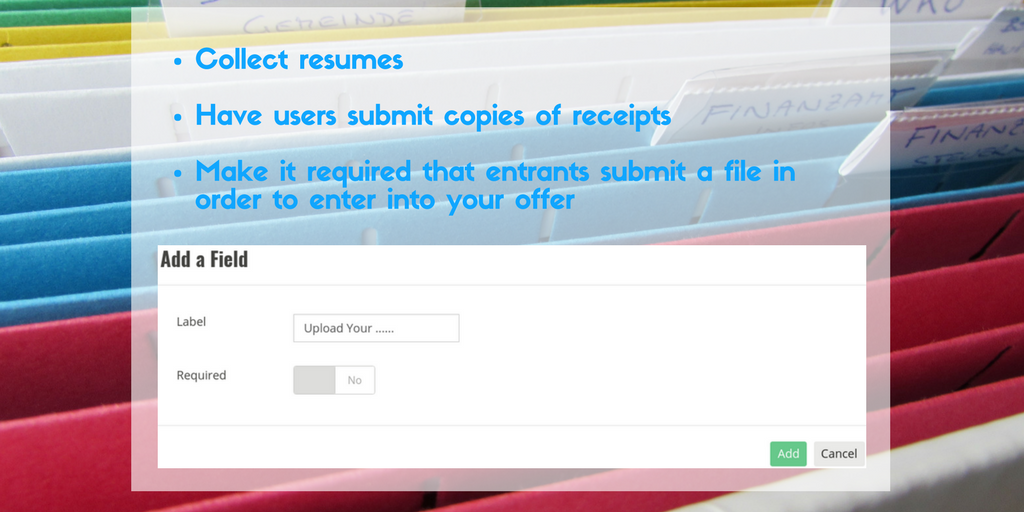
Upload a File
Supported extensions for admins to download but unavailable to play or view in a gallery:
- .odt
- .m4a
- .avi
- .ai
- .txt
- .rtf
- .pptx
- .wmv
- .tiff
- .mp3
- .psd
- .tif
- .doc
- .mov
- .bmp
- .gif
- .docx
- .jpeg
- .jpg
- .mp4
- .png
Files that can be displayed in a gallery:
- .jpeg
- .jpg
- .gif’
- .png
HTML Field
Don’t know HTML? No problem, you can use this as just a plain text field.
Tip: If you add text to the label, it will be left aligned, and if you add text to the HTML box, it’ll be more centered.
This has a creative use, too. For example, you can get necessary information or write something like, “Click all that apply.” Move it around your form to have the text display where you want.
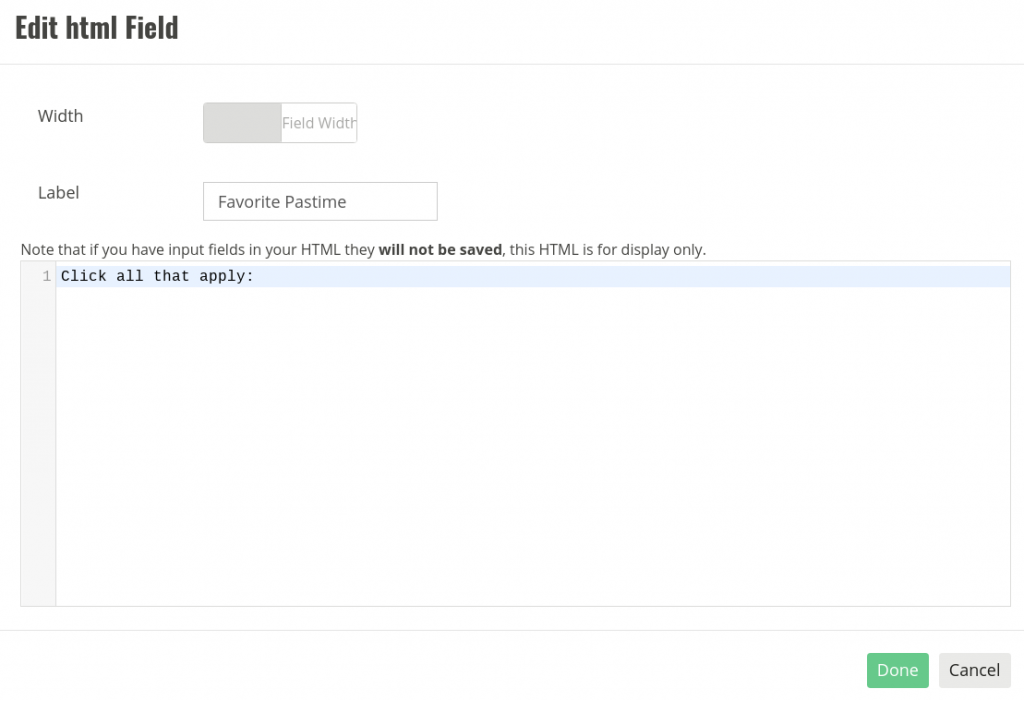

In the above example, we used both the Label and HTML box to add text. Underneath we added checkbox fields, one at a time, to the form to create several choices.
Official Rules Checkbox
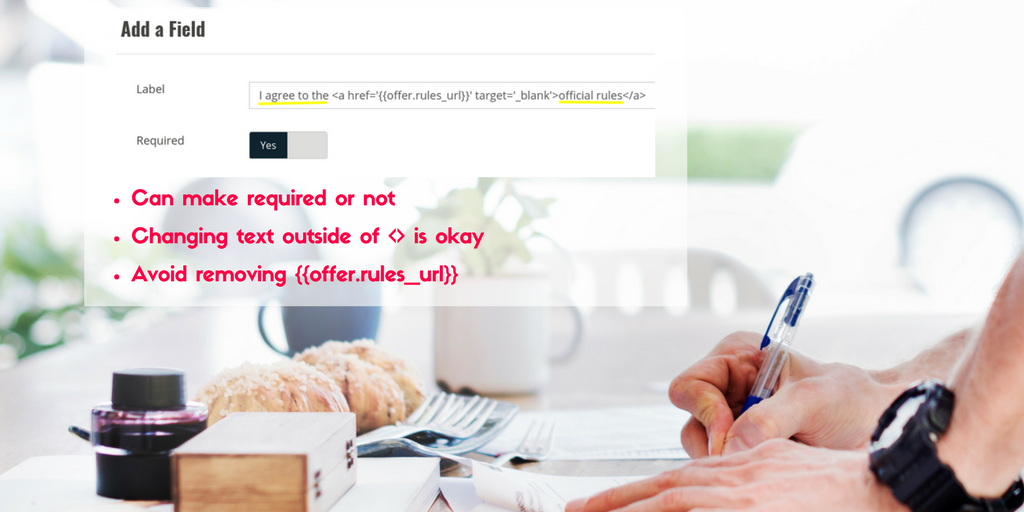
This is the biggest tip of them all: Do not remove the code {{offer.rules_url}}. That code is not to be replaced with your URL (Add your rules text or URL in your advanced section). That code automatically creates a hyperlink to your rules. You can adjust the text before or after any <>. (IE: “I agree to the” or “official rules”).
Password Field
A fun trick for the password field is to have users search for the secret code.
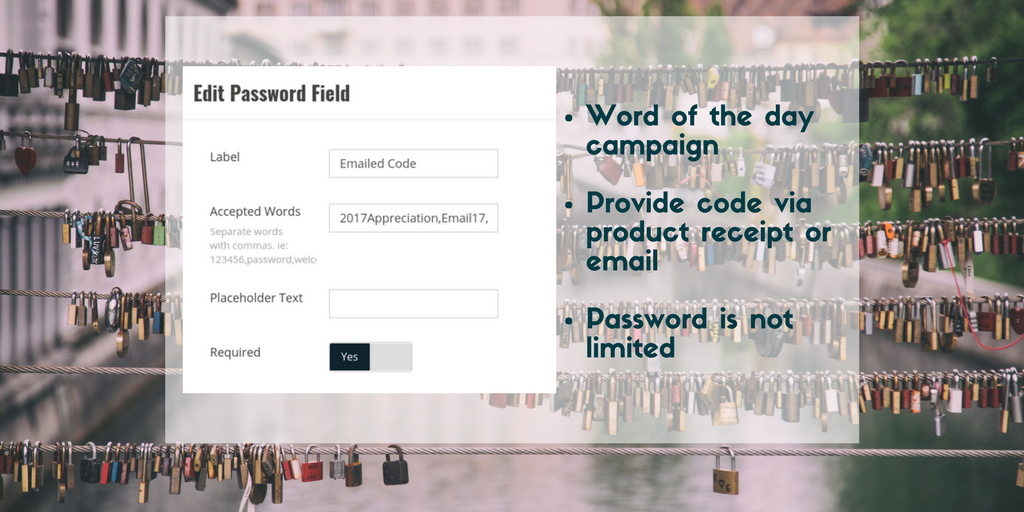
You can have multiple passwords, and any of those accepted words will work to allow users to submit via the form.
Tip: Keep in mind that the “password” can be used multiple times.
Follow on Pinterest, Twitter, YouTube, Google+, Like on Facebook, YouTube Subscribe

Only Twitter allows businesses to require a follow for a user to take part in a promotion. If you add a required Twitter follow to your form, a user must follow your Twitter to enter the campaign.
Tip: Require Twitter follows for contests you are running only on Twitter. If you’re running a campaign for all social media (or non-social media) users, keep Twitter follows optional.
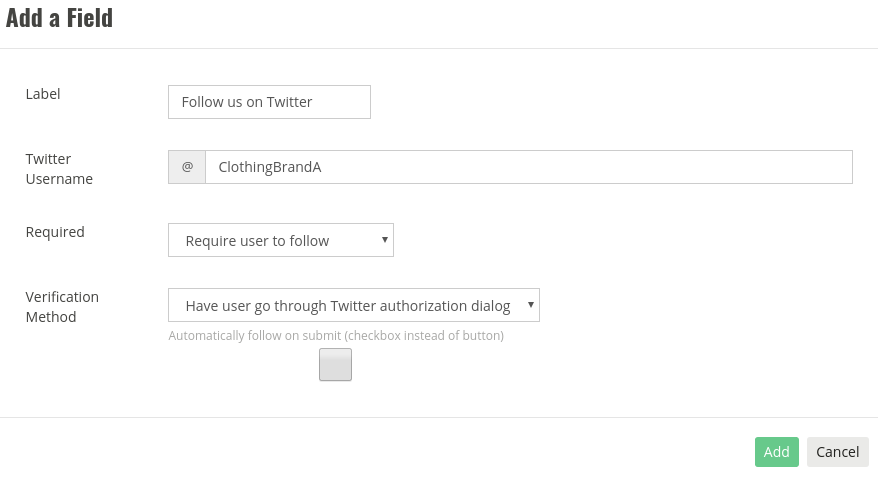
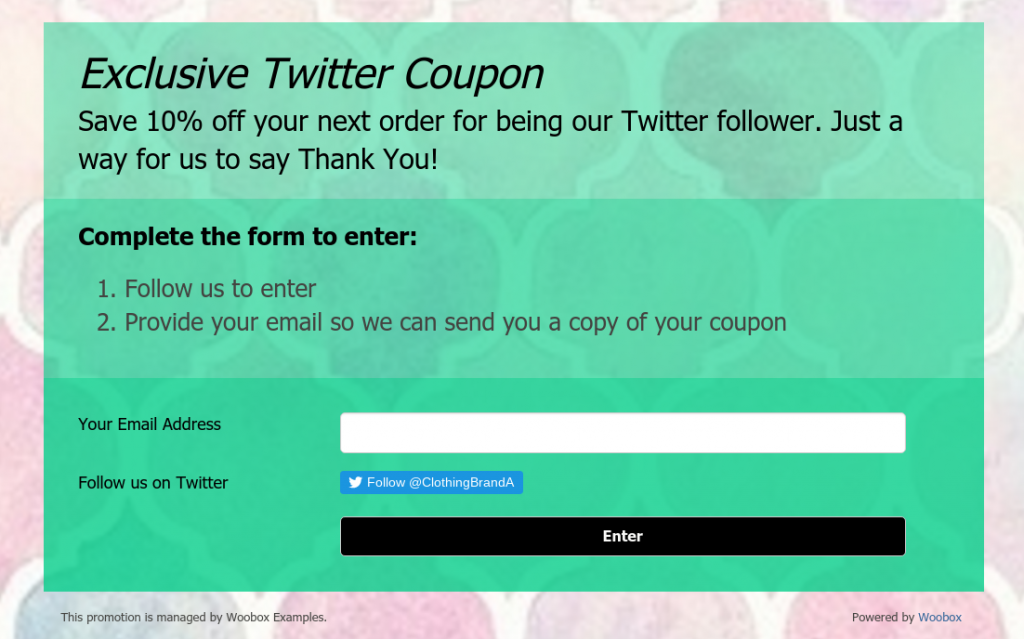
Another useful trick is adding multiple Twitter, Google+, Instagram, and YouTube follow/subscribe options. You can direct users to all accounts if you have multiple, or partner with another business to help them gain more followers and subscribers.
Drop-down Field
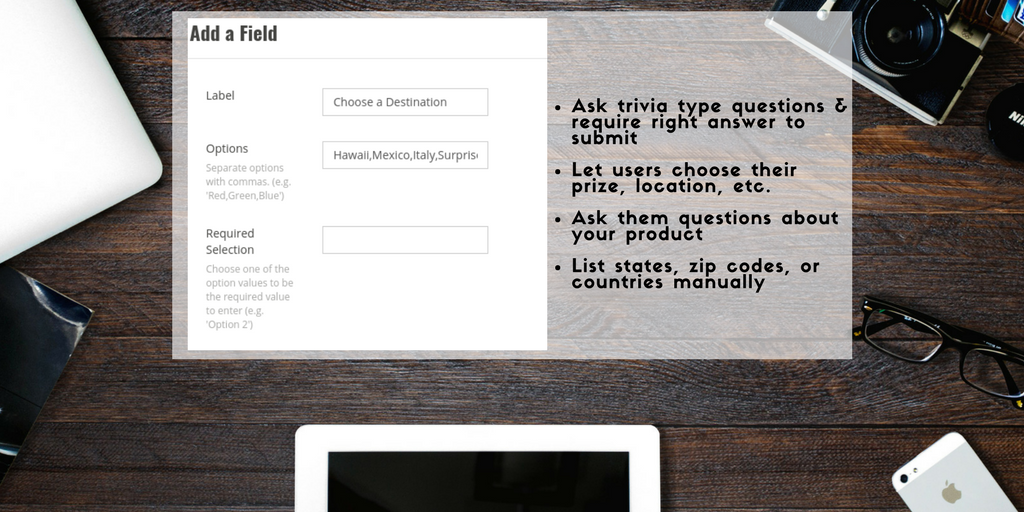
Users can only choose one option from the drop down menu. You can require one of the choices on the menu, as in if they don’t choose that option, they can’t enter. Leave “required selection” blank to allow a user to choose any of the drop-down menu options at free will.
Text Field vs. Text Area
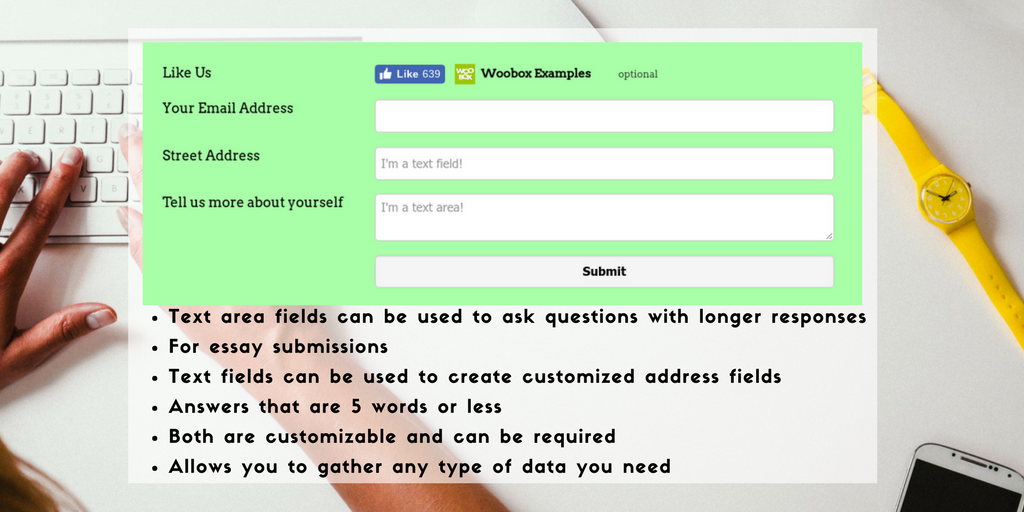
The difference in these fields is how they look. A text field is one line, typically meant for one line type of answers. The text area is a bigger box. Use this if you expect a longer answer, making it easier for the entrant to edit their message. The text box is also expandable for the user entering.
Tip: You can add a few of the text fields to collect addresses. Create one each for Street Address, Apt/Bldg #, City, State, and Zip.
Other quick tips and tricks for Form Fields
- To re-order your fields, just click and drag them into place.
- Export all of the data you collected within minutes.
- You can add fields while the offer is live. The only downside is users who already entered data won’t have the new information gathered.
- Want to create a similar offer with the same form fields? Copy or reset your campaign (only works if it’s the same type of campaign).
You are now a Woobox form field expert! Login for free to set up one of our many campaigns that offer forms as part of entry! When you’re ready to go live, purchase a subscription and start letting everyone know about your campaign. Have questions? Check out our forum or email your questions to support@woobox.com.

