So you’ve signed up for a free Woobox account. What’s next?
Woobox has one of the most expansive free accounts available for promotions, and chances are that even if you’ve around for awhile, you’re probably not taking advantage of all of the features you have available. The main benefit the free account offers is the ability to create and install Facebook Page Tabs on your business page – completely free. Not familiar with using business tabs yet? You should be.
Why Use Facebook Page Tabs?
Besides being a free way for fans to interact more with you on Facebook, Page Tabs offer you the ability to customize and curate content specifically for your Facebook audience.
With all of the new restrictions on mobile tabs and constantly changing Facebook policies, it can hard to justify the time to set up Facebook tabs. Rest assured, it’s totally worth it. (And Woobox gives you special tab links you can drop in your timeline to get around the mobile issue.) From integrating other social media tools to creating landing pages where your audience is already at, utilizing Facebook tabs will make a huge difference in your business this year.
Getting Started With Your Free Woobox Account
Let’s start with one of our easiest, and most powerful free tools, the Pinterest Tab.
Pinterest Tab
The Pinterest Tab is great, especially for highly visual brands targeting women. Instead of having to navigate away to explore your pins, they can see your curated images from within a Facebook tab.
How It Works:
1. Copy/Paste your Pinterest username
To find this, simply visit Pinterest and click your image. Your username will be the last section of that URL.
2. Choose whether your tab will Show All Pin Boards or Show Pins From Board.
This is an incredible feature for targeting your offers. For instance, if you are an interior designer showcasing several pin boards where users could explore their style, you’d quickly see which design was the most popular based on how many new followers that board received.
If you chose to use the Show Pins From Board option, you could see what the most popular design aspects were based on the number of re-pins the image receives.
3. Choose whether or not to show likes and pins.
Do you want the image to stand alone or do you want social proof built-in? You be the judge.
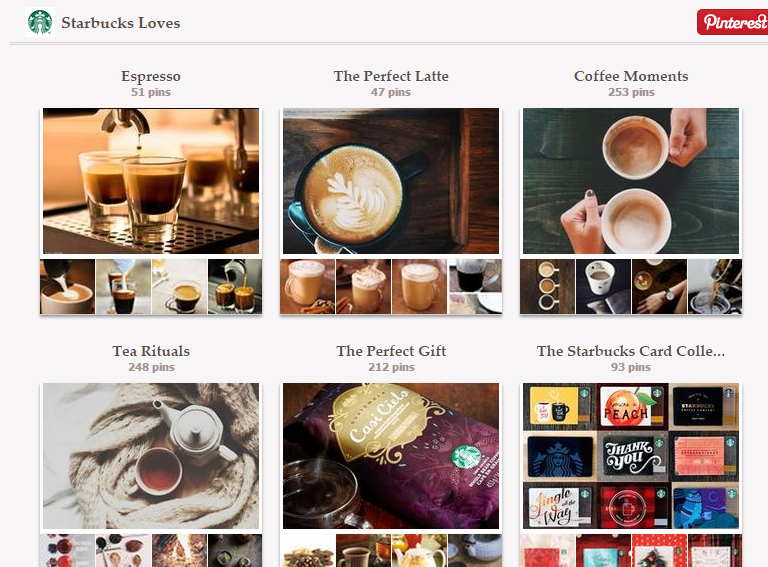
That’s all there is to creating a beautiful Pinterest tab. Here’s what the final product looks like!
Twitter Tab
The Twitter Tab is a handy integration that lets your fans know they can find you off Facebook, too. This is especially useful if you do flash giveaways or other offers that reward a follower for immediate engagement.
How it works:
1. Add your Twitter username.
To find this, simply visit Twitter and click your image. Your username will be the last section of that URL.
2. Choose whether your tab will show All Tweets or Tweets Containing Terms.
This allows you to either keep your users completely connected with what you’re doing on Twitter, or you can choose to target your Facebook audience with specific content from Twitter that’s more relevant for them.
Ex. A salon owner tweets when she has immediate walk-in availability, but this isn’t good content for her slower paced Facebook audience. Instead, she cross-posts deals from Twitter and Facebook to make sure both audiences are reached.
3. Choose how you want to filter your tweets.
This is for power users on Twitter who are regularly tweeting with their followers. You can choose to not post tweets beginning with an “@” – a common way to respond to followers.
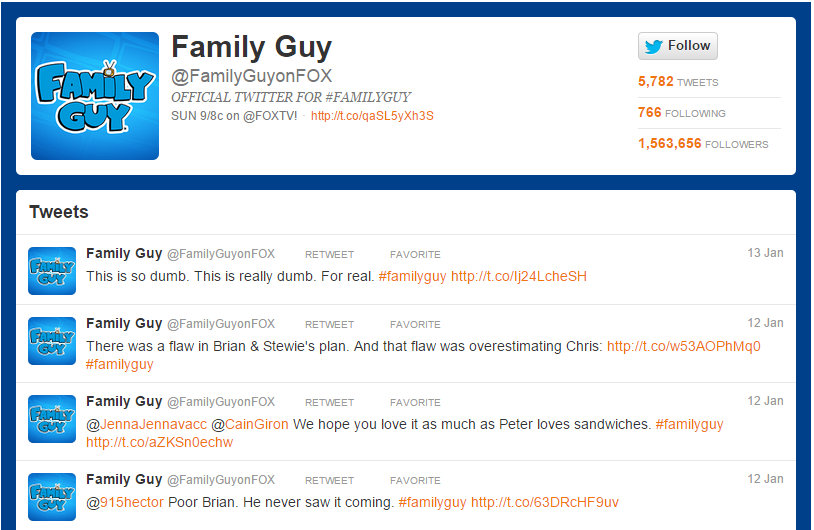
Easy, right? Check out how nice this tab looks when it’s finished.
Instagram Tab
The Instagram Tab is a simple way to showcase beautiful images you take on your phone. If you want a simple way to continually engage users without having to constantly be uploading and updating across networks.
How it works:
1. Add your Instagram username.
To find this, simply visit Instagram and click your image. Your username will be the last section of that URL.
2. Choose whether to display all photos or photos with tags
Much like the Twitter tab, this allows you to either keep your users completely connected with your Instagram, or you can choose to target your Facebook audience with specific content from that’s more relevant for them.
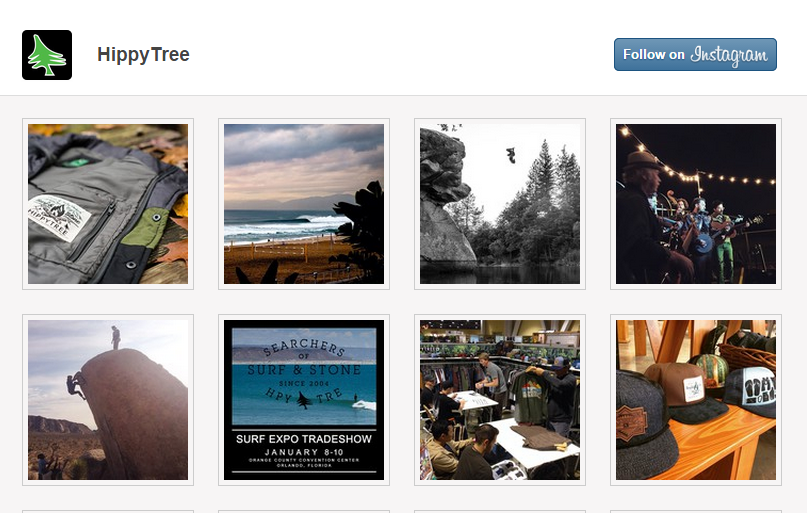
You’re done! This is what an Instagram tab looks like.
Youtube Tab
The Youtube Tab allows you share the best of your video content with your Facebook audience. Let’s be honest, the video experience on Facebook is seriously lacking, and having the option to add a better experience within a tab is the best choice you can make for your fans.
The Youtube Tab is just a touch more finicky to set up than the previous tabs, so watch those URLs!
How it works:
1. Add your Youtube username.
To find this, visit Youtube and select My Channel. Your username will be the last section of that URL. Don’t include “channel” when copy/pasting the URL.
2. Add a featured video.
Navigate to the video you would like to highlight for your Facebook users. Copy and paste the URL.
That’s all there is to it! Here’s what the finished product looks like. (Pst! You can add a gallery below the featured video, too!)
HTML Fangate Tab
The HTML Fangate Tab is the cream of the free tab crop. Completely customizable, you can put anything you can dream up in this tab. Using this tab is different than the others because it is so open-ended.
How it works:
1. Choose the main purpose for your tab.
You can do so much with this tab, you need to get specific on what your overall goal is. Here are some common metrics people use to measure the success of their tabs.
- Collecting emails for a list
- Selling tickets to an event
- Increasing likes on a Facebook Page, followers on Twitter, etc.
- Sending fans to an off-site landing page
- Directly users to a contest, coupon, or other promotion
2. Choose the best content creation option for your tab
There are four ways to enter content into a tab.
- URL (Make sure you use https, not http)
- Redirect (Which opens a new window and takes them off Facebook)
- Image (Upload an image page)
- HTML (Code and customize to your heart’s content)
3. Choose whether to enable a subscribe or fan gate.
Suggest someone likes your page or subscribes before viewing the content on your tab. (Tip: Need help creating an image for this? Click here.)
4. Choose whether or not to include a form.
Sometimes, you need to collect additional information, such as collecting addresses to send fans a free offer or collecting phone numbers for a free consultation. It’s not a bad thing to ask for additional information as long as you’re giving them serious value for it.
You know what else is great about these custom tabs? You can add as many as you like, up to Facebook’s maximum of 12 tabs.
If this guide helped you get more out of your free Woobox account, share the love below!
