
You typed carefully crafted copy. You added official rules that were sent from legal. You set ALL restrictions and added some required form fields. You even added a great piece of creative from a designer.
All set to launch your campaign, right? Hold up!
After all of that hard work (either done all by your lonesome or with a team’s help) you wouldn’t want to publish an offer with plain, black text on a white background, would you? What about the other pages of the promotion; the fan-gate, post-entry page, pre-start page? I know you have other things to do, so here are some quick ways to beautify your campaign so you can launch it and go on with your day:
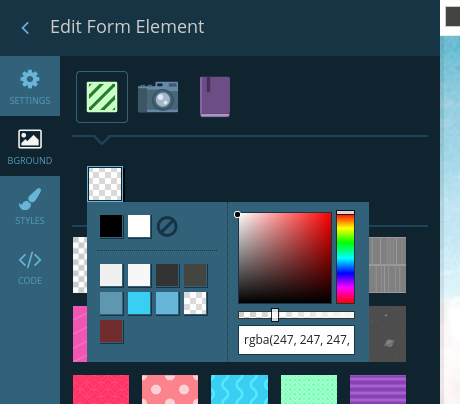
Add a Background. It’s now easier than ever to add or choose a great background for your campaign, as outlined in our Customization Update blog.
You can upload an image, choose a pattern, or search the built-in image library.

Your chosen background is applied to all pages of your offer. No need to repeat the process for each page. Want to add a background to each offer element? Select the element by clicking it, then click the Backgrounds Tab.
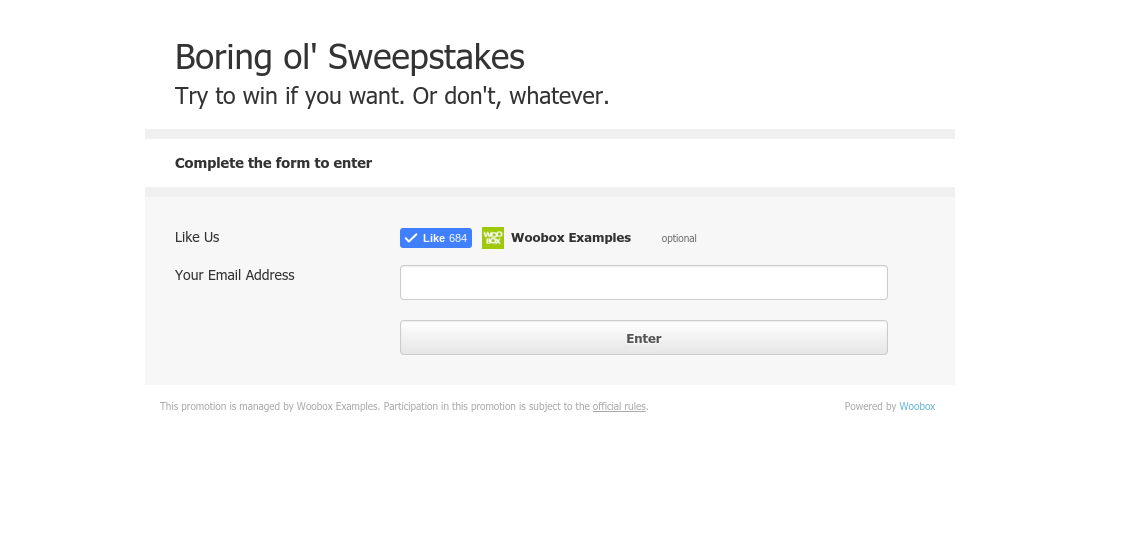
BEFORE (adding a background):
TIP: Make a sweet background? Elements can also be partly or 100% transparent using the slider under the “background color” button.
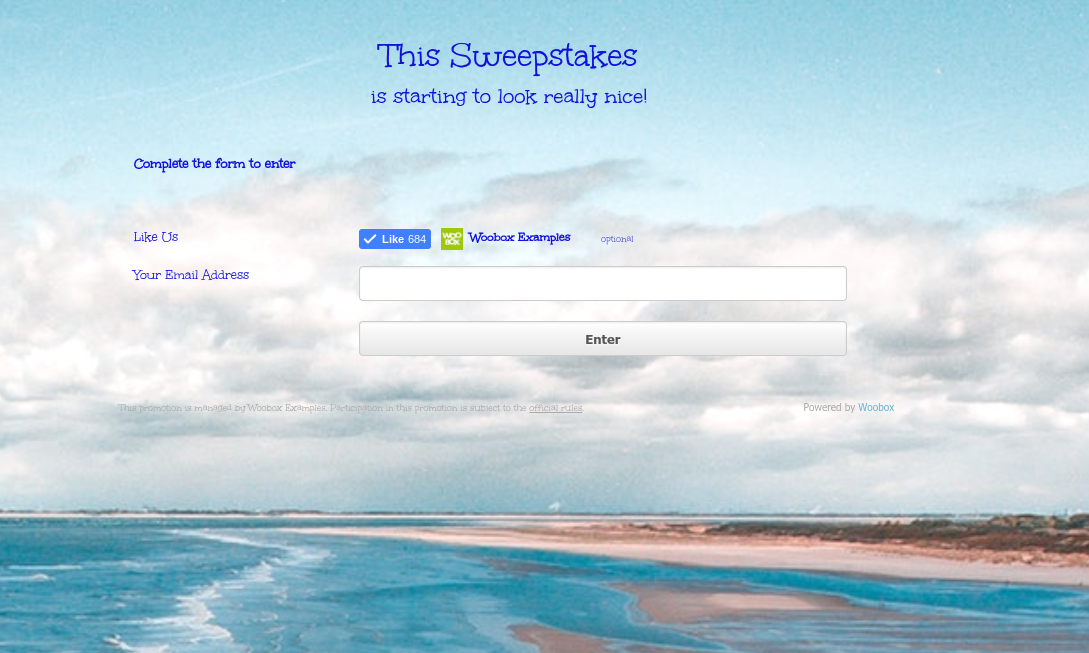
AFTER (adding a background):

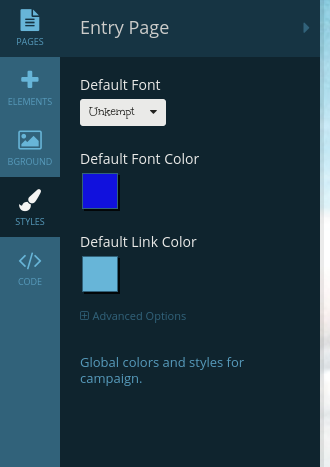
Choose a font. You can choose a font and a font color by clicking the Styles tab. The font styling will be applied to the entire campaign, but you can also assign an individual font type and color if you click each Element before clicking the Styles tab.
AFTER (assigning a font):
Visit the other pages of your campaign, see if they need any beautifying.
By now, the other pages of your offer (pre-start, fan-gate, post-entry) most likely have a background and some font styling, but you’ll want to take a quick look and possibly update some of the promotional copy, upload a fan-gate image, or add a link to your website.
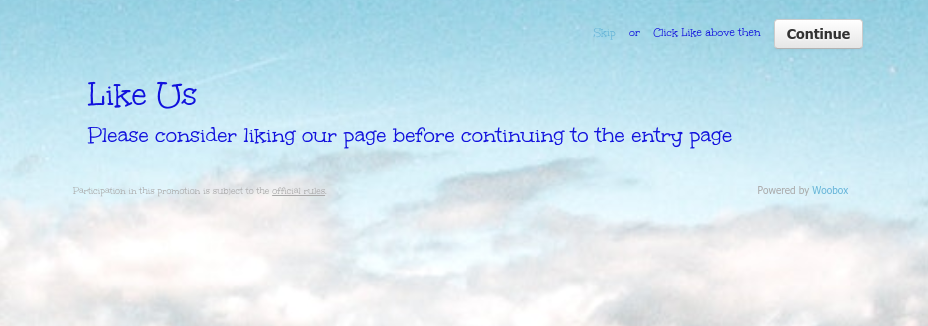
BEFORE:
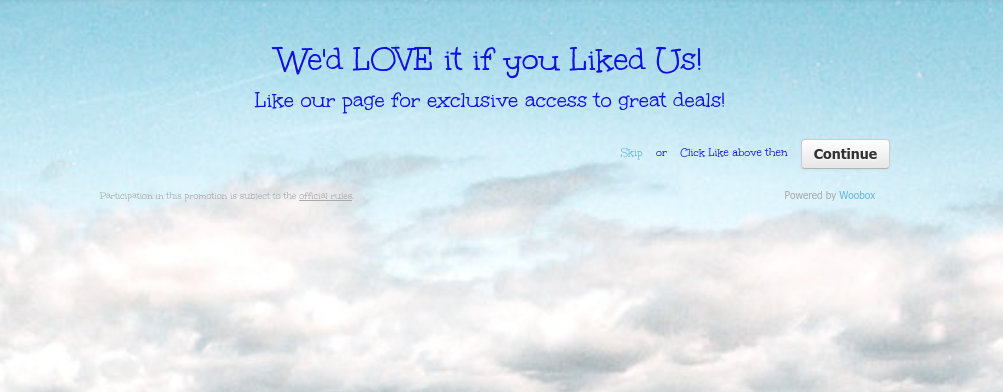
AFTER (editing copy):
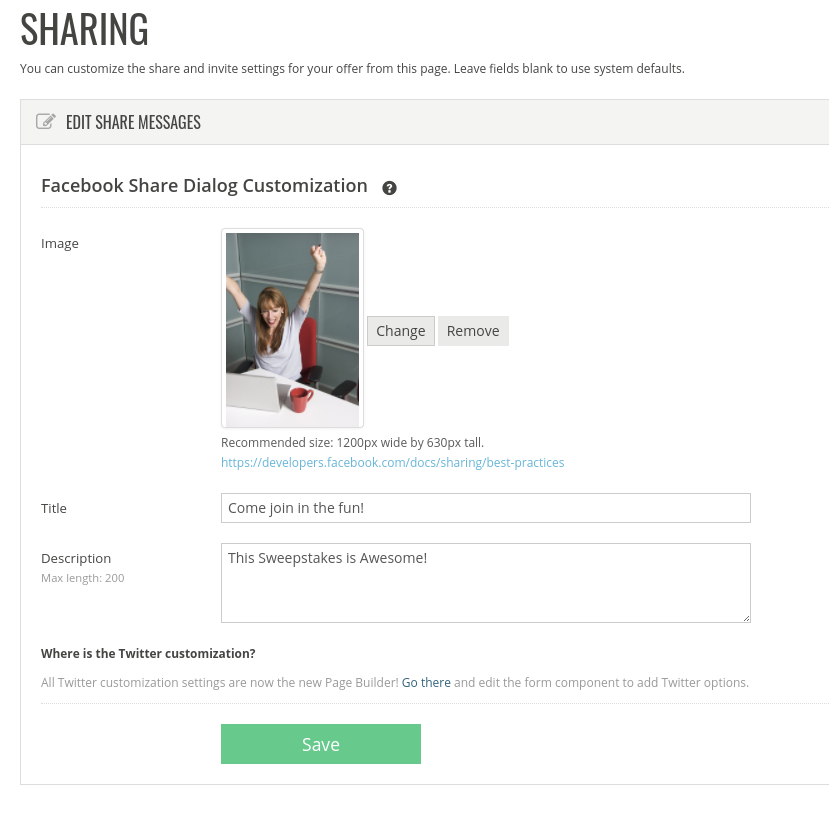
Customize sharing. Without sharing customization, the main image from a promotion’s Entry Page, Title, and Description (added on the Edit screen) will be displayed when users share the promotion’s URL on Facebook. Sometimes the image is just a little off (or the wrong size) for Facebook’s share dialogue. But maybe you’d like the Facebook share to read “Join the Fun!”. Just pop over to the Sharing section and add the image, or just customize the title. (You don’t have to fill in all the customization options, unless you want to!)
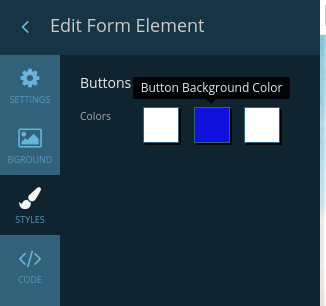
 Customize the Enter Button by clicking on the Form element, then selecting Styles. You can easily change the button’s body color, text color, and border color.
AFTER button customization:

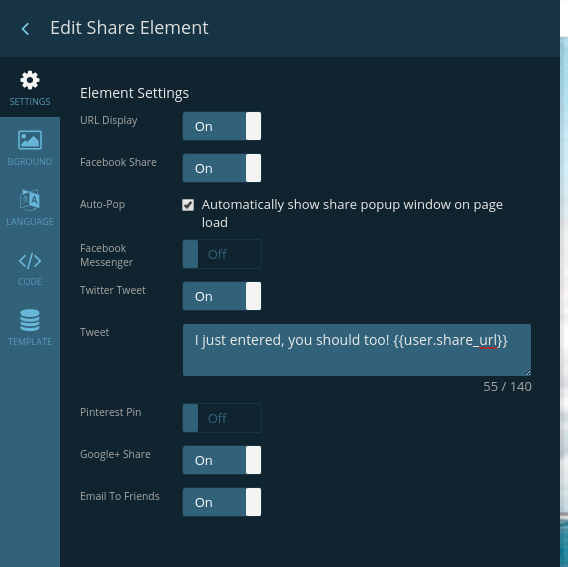
Customize the Post-Entry Share Element. On the Post-Entry page in the Customize section, you can click the Share Element and enable or disable different methods of sharing. You can also customize the pre-written Tweet sent from the Post-Entry page.
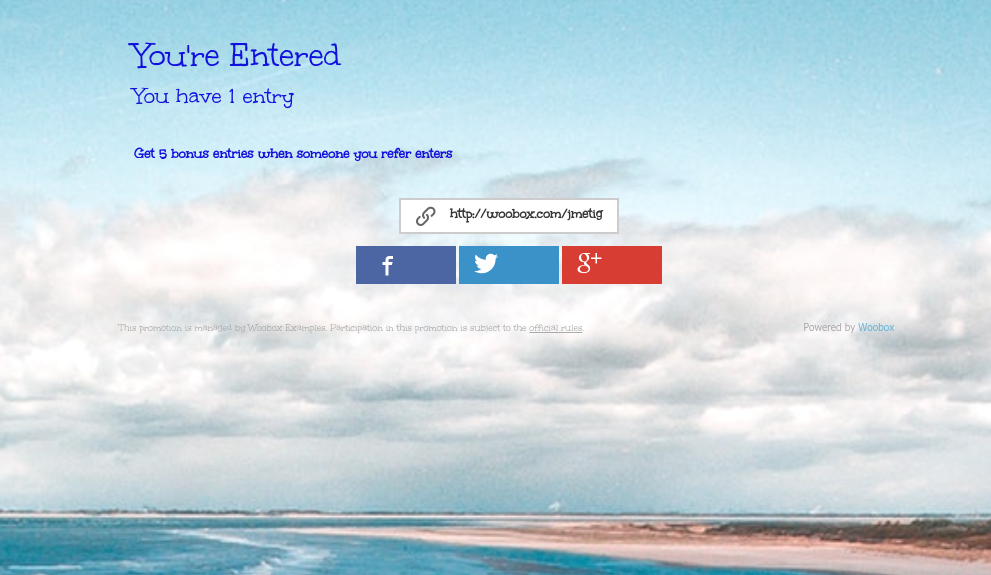
BEFORE (share customization):
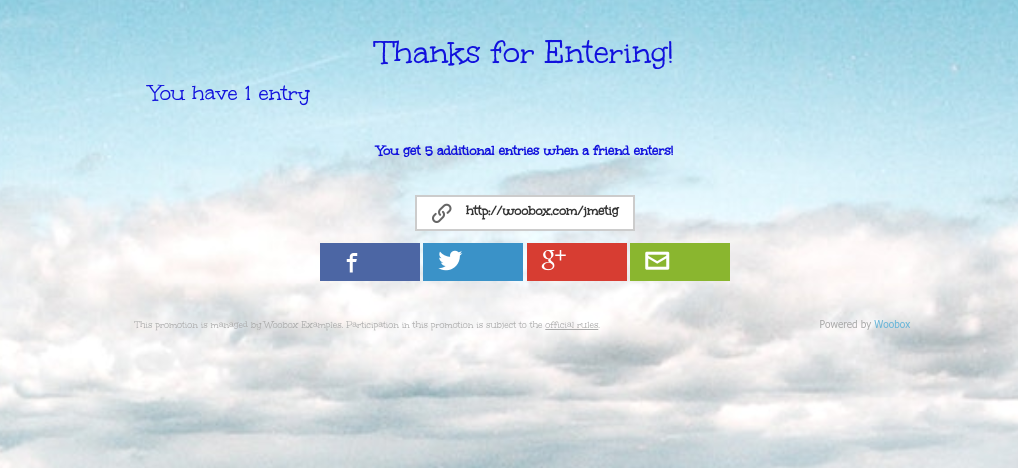
AFTER (share customization):
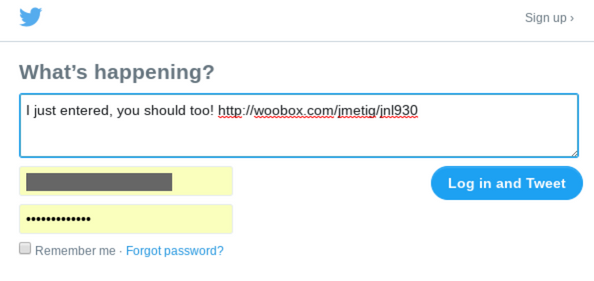
Custom Twitter share message:
We hope this guide helped relieve some design-stress. It’s easy to brand your Woobox campaign and stand out from the crowd. If you have any questions about customization in your promotions, don’t hesitate to email us at support@woobox.com. Happy designing!